

 0
0 Aug, 17, 2023
The Challenge
The PC200 excavator came in with symptoms of severe electrical voltage drop during operation—flickering cab displays, dim working lights, and difficulty restarting after short breaks. Diagnostic testing confirmed that the original alternator’s internal rectifier bridge and voltage regulator had failed due to prolonged exposure to high vibration and dust.
To minimize machine downtime, the team selected a GNT Heavy-Duty Alternator, specially engineered for high-vibration off-highway construction equipment.
Step-by-Step On-Site Installation Process
Step 1: Safety & Power Isolation
-
Safety First: Disconnect the negative battery cable to prevent short circuits or accidental electrical arcing during installation.
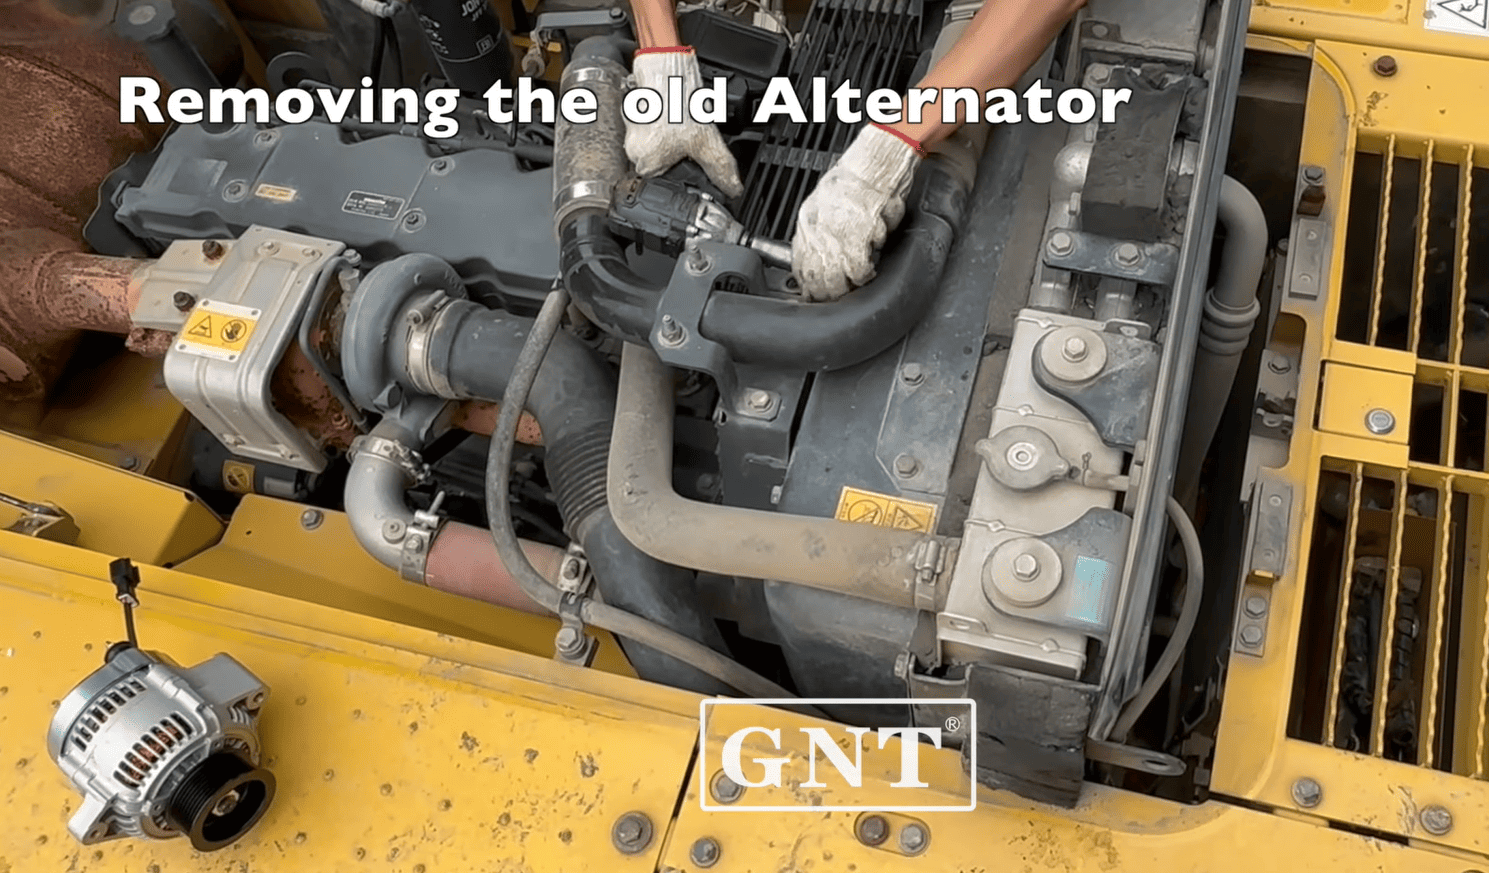
Step 2: Removal of the Old Unit
-
Loosen the alternator tensioner bracket and remove the drive belt.
-
Disconnect the main output cable (B+ terminal) and the wiring harness plug (IG / L / D+ terminals).
-
Unbolt the mounting hardware and carefully remove the failed unit.
Step 3: Pre-Installation Check & OEM Cross-Referencing
-
-
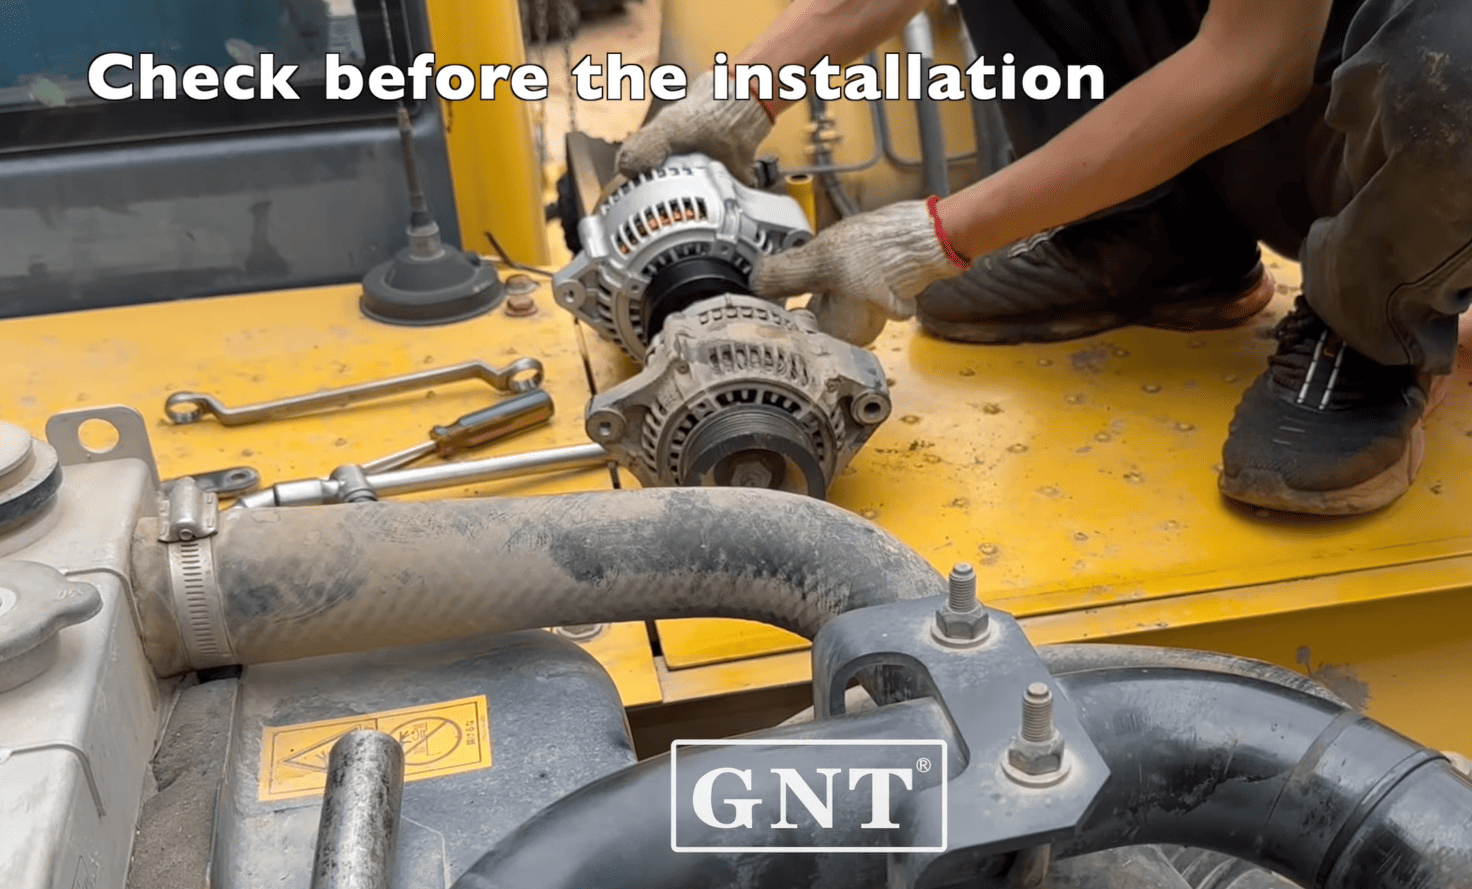
Before mounting, the technician cross-referenced the original Komatsu part number on
www.gntmotor.com
-
Inspected the pulley, mounting brackets, and drive belt for any uneven wear or misalignment.
Step 4: Installing the GNT Alternator
-
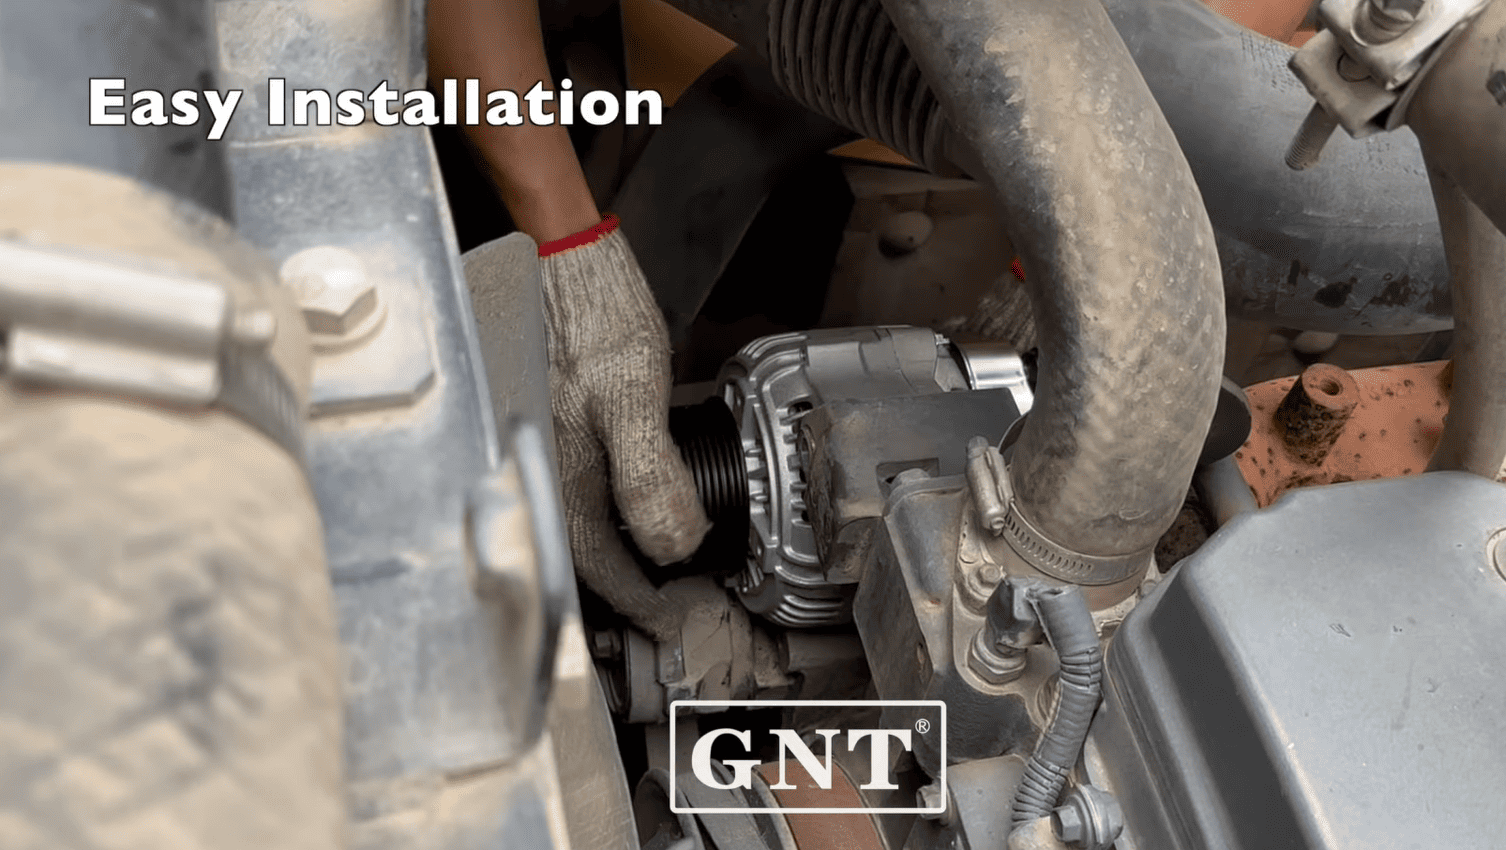
Position the GNT Alternator onto the mounting bracket and hand-tighten the pivot bolts.
-
Reinstall the drive belt and adjust belt tension to manufacturer specifications (ensuring correct deflection to prevent premature bearing wear).
-
Torque all mounting bolts to specified settings.
Step 5: Successful Installation & Flawless On-Site Operation
-
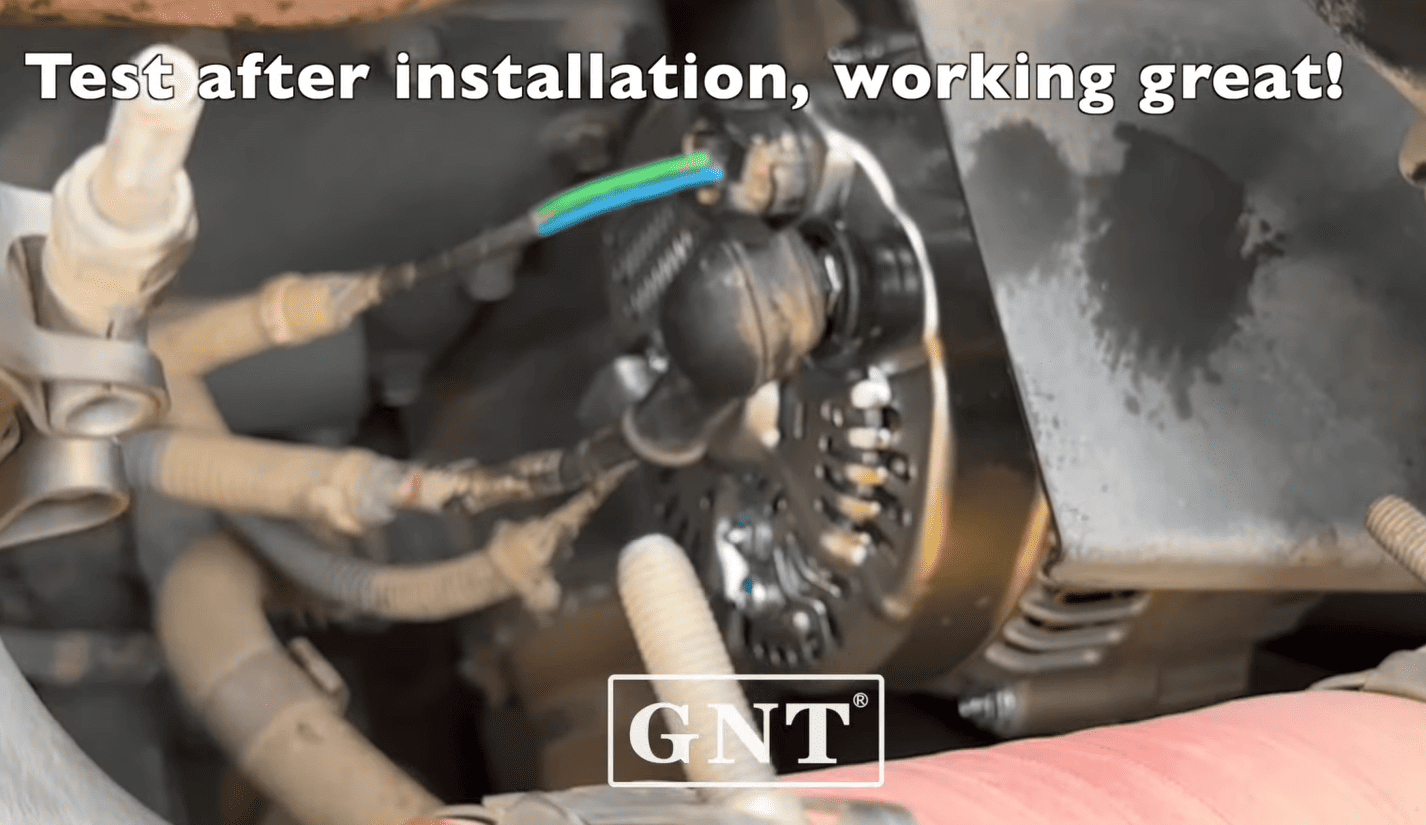
Engine Start & Instant Response: With all connections secured, the PC200 engine fired up smoothly. The newly installed GNT alternator kicked in instantly, delivering a steady and reliable charge to the entire system.
-
Rock-Solid Power Output: Under full electrical load—with cabin air conditioning, auxiliary monitors, and all high-intensity working lights engaged—the system maintained a stable output voltage, completely resolving the previous power drop issues.
-
Operator Approved: The machine was handed back to the operator immediately and returned to full heavy-duty digging operations on-site. Seeing the machine back in action without a hitch is the absolute best validation of GNT’s quality and reliability.
Keep Your Fleet Moving with GNT
Unplanned downtime costs money. With GNT Motor’s robust manufacturing and digital supply chain solutions, finding and installing reliable replacement electrical parts for heavy machinery has never been easier.
Need reliable starters or alternators for your construction equipment?
Visit
www.gntmotor.com
-
-
-